Editor’s note: Ziko, Michael and their friends live in Israel and they are sharing with us 6 tips on how to utilizing Meta study groups has helped them stay accountable when studying for a course. If you have creative ways that you are studying, please feel free to share with us in the comments!Thanks, Ziko & Michael, for your story!
When we heard that Dan Ariely was going to teach A Beginner’s Guide to Irrational Behavior on Coursera, we knew we’d sign up immediately. As many students taking MOOCs discover, we knew that we’d have a lot of freedom – studying when we wanted and at our own pace. But many students need more structure and support when it comes to taking online courses.
That’s why we decided to open an Israeli Meta group for close friends who were interested in the course, a place where we could learn together and exchange experiences. After all, it’s much harder to ignore impending deadlines when your friends on Meta remind you!
A few minutes after opening the group, there were already were 10 members (“That was fast,” we all agreed). A few hours later, there were already several dozen members. And after few days, there were more than 300 members in the group!
Learning Together on Meta
Our “close friends group” became a large network for Dan Ariely’s fans and people who didn’t want to study alone. A short time passed, and wonderful things started to happen:
- People started fascinating discussions
- Members organized learning groups (both online and in real life)
- An organized list of volunteers began summarizing and translating articles into Hebrew for other students
It incredibly fun to learn together with people of various ages (and it was great discussing the course’s topics in our native tongue!), and the group also saved us quite a bit of time, thanks to our collaborations.
When the course ended, we found that the statistics were in our favor: course completion percentage among our group members was 8x higher than the global average, and the average score in the group was 94!
Meeting with Professor Ariely
We learned that Professor Ariely was scheduled to visit Israel for a short period of time, and we suggested that he meet with our Israeli student group. His response was surprisingly positive!
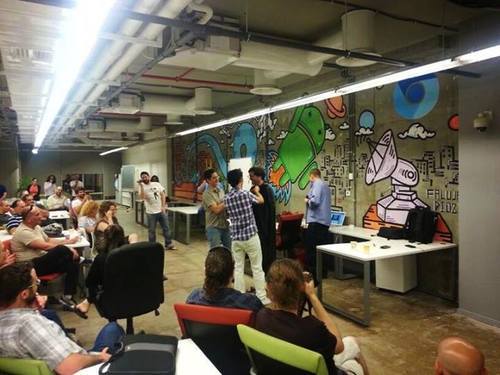
A month later, a large group of Israeli students spent three hours with him, learning about his experiences from the course, asking questions, and most importantly, having fun.
To show our gratitude to Dan Ariely we decided to give him an “Irrational” gift, and in quite an embarrassing ceremony, we gave him the title of honorary professor.
This is what it looked like:
Before:
After: (Ziko – on the left with the glasses, Michael – on the right)

Six Tips for Creating a Meta Study Group
We plan to open more Meta study groups around future courses, but if you want to open your own Meta group, here are six tips:
1. Pick a clear name for your group. Make sure the name of your group matches the name of the course, so it could be easily found through Meta search.
2. Crowdsource article translations. Reading academic articles can sometimes take quite a while, and if the articles aren’t in your own language, it can be really frustrating. Use your Meta group to divide the work! Create a Google document, post a link in the group and invite the group members to volunteer and translate articles. Make sure to divide the work effectively, and work as a team.
3. Upload summaries as files. Make sure to upload all the summaries to the group, preferably as files and not as posts, so you can find them easily in the “files” tab.
4. Use clear names for all files. Any group on Meta has the option to search and find specific content. To do so easily, make sure that when you upload a file it contains the name of the summarized article.
5. Create events! Events can be physical learning meetings or an invitation to an online conversation.
6. Pin an explanation of the group’s purpose to the top of the page. Include the group’s Code of Conduct and a simple explanation for what happens in the group.
The only recommendation we have left is to GET STARTED!